
Summary of How to use PIC16F84A pin as input (Code+Proteus simulation)
This article explains how to configure PIC16F84A pins as inputs using C language in MPLAB with the HI-TECH C compiler. It details a circuit where RA0 acts as an input pin controlled by a push button, driving RB0 to light an LED based on the input state. The code is compatible with Proteus simulation and was tested using specific software versions.
Parts used in the PIC16F84A Input Project:
- PIC16F84A microcontroller
- External crystal of 20MHz
- Push button
- LED
- MPLAB v8.85 software
- HI-TECH C v9.83 compiler
- Proteus v7.10 simulation tool
This post provides an example code to use PIC16F84A pins as inputs. After going through this example, you will understand how to make PIC16F84A pins as inputs and how to read their value in the code. This code is written in C language using MPLAB with HI-TECH C compiler.You can download this code from the ‘Downloads‘ section at the bottom of this page.
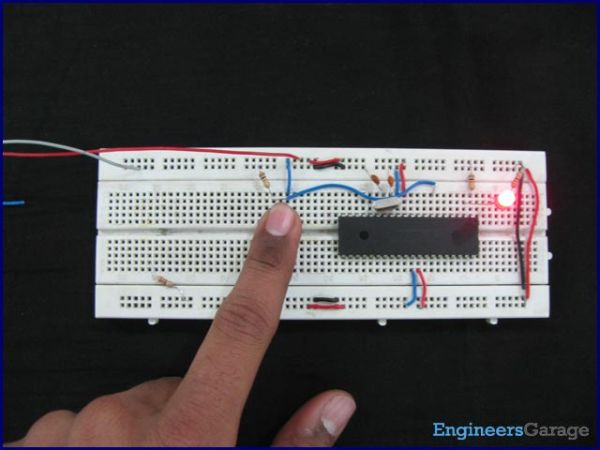
It is assumed that you know how to blink an LED with PIC16F84A microcontroller. If you don’t then please read this page first, before proceeding with this article.
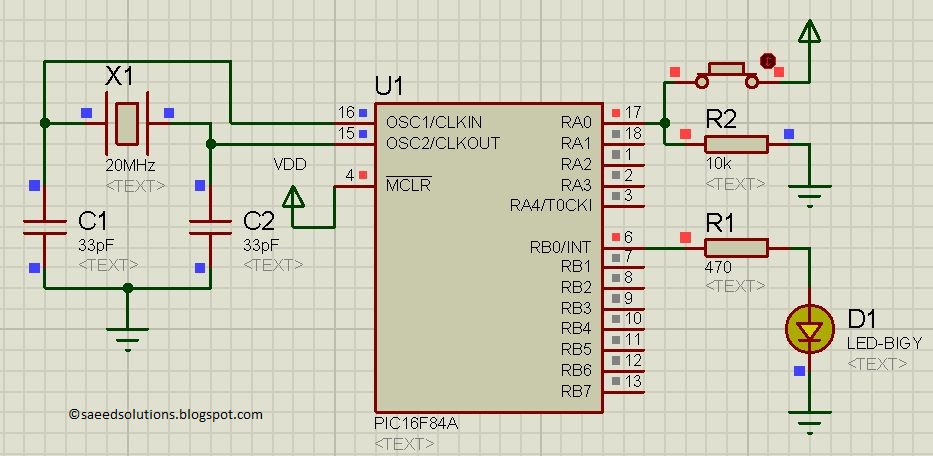
Following figure shows the circuit used to demonstrate how to get input in PIC16F84A micro-controller.
In this figure, PIC16F84A is running on external crystal of 20MHz[1]. RA0 pin is being used as the input pin. When the push button is in the pushed state then, RA0 pin is high, otherwise RA0 pin is low. Whenever RA0 pin is high, then RB0 pin (Attached with the LED) is also made high just to indicate correct reading of RA0 pin status in the micro-controller.
Code
The code for reading the status of RA0 pin is shown below.
Downloads
Input pin code using PIC16F84A was compiled in MPLAB v8.85 with HI-TECH C v9.83 compiler and simulation was made in Proteus v7.10. To download code and Proteus simulation click here.
For more detail: How to use PIC16F84A pin as input (Code+Proteus simulation)
- How do I make PIC16F84A pins act as inputs?
The article provides example code written in C using MPLAB and HI-TECH C compiler to demonstrate this process. - Can I read the value of an input pin in the code?
Yes, the provided example shows how to read the status of the RA0 pin within the code. - What happens when the push button is pushed?
When the push button is in the pushed state, the RA0 pin becomes high. - Does the LED turn on when the input is high?
Yes, whenever the RA0 pin is high, the RB0 pin attached to the LED is made high to indicate correct reading. - What version of MPLAB was used for this project?
The code was compiled using MPLAB v8.85. - Which compiler was used to write the code?
The HI-TECH C v9.83 compiler was used to compile the code. - Is there a simulation available for this circuit?
Yes, simulation was performed using Proteus v7.10. - Where can I download the code and simulation files?
You can download the code and Proteus simulation from the Downloads section or the link provided at the bottom of the page.
