
Summary of Wireless MultiMeter using PIC18F452 Microcontroller
This article describes a wireless digital multimeter kit that reads LCD data from a standard DMM, transmits it via 433MHz modules, and displays it on a remote unit. The system uses PIC microcontrollers for low-power operation, supports up to 100m outdoor range, and features an RS232 interface for software updates.
Parts used in the Wireless MultiMeter:
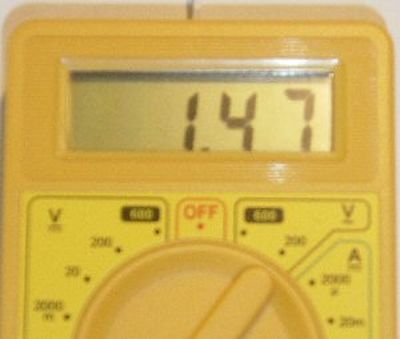
- Low-cost DMM (digital multimeter) M830D
- TX circuit with wireless module TX-433
- RX circuit with wireless module RX-433
- LCD display
- Piezo buzzer
- PIC 18F452 microcontroller
- PIC 18F2550 microcontroller
- RS232 interface (JP2)
- Contrast adjustment pin (JP3)
- Hex files (025tx_v10.hex and 025rx_v009.hex)
This project comes as a KIT. It includes these components:
- Low-cost DMM (digital multimeter) M830D
- TX (transmitter) circuitand wireless module TX-433. These are mounted within the DMM housing.
- RX (receiving) circuitwith a wireless module RX-433, LCD and piezo buzzer.
The general idea is to read all LCD data from a cheap DMM (directly from its main chip.) This data is sent and received by wireless modules, read by the RX circuit and then displayed again. Sounds pretty easy, not?
Here are the technical specifications:
- Low power operation (8-10 mA @9V) with PIC 18F452 (TX) and 18F2550 (RX) microcontrollers running at 4 MhZ.
- Sampling rate: around 3 samples/sec.
- Max. distance between the RX and TX circuits: 30m indoors and 100m outdoors.
- Software is 100% upgradable with a simple bootloader.
- Low power LED blinks when sending / receiving data.
- TX circuit: PCB Dimensions: 30 x 31 mm or 1″18 x 1″22, weight: 8 grams.
- RX circuit: LCD contrast adjustable by user.
- RX circuit: PCB Dimensions: 40 x 41 mm or 1″57 x 1″61, weight: 10 grams.
- This product is available as a KIT from our online shop.
- KIT step-by-step construction guide.
- Source code (CCS C) , pcb layouts and schematics (Eagle) can be purchased separately.
Hex files available. Last update: June 1, 2006.
RS232 interface: JP2 provides the interface to connect to your COM port and hyper terminal. Also used for bootloading (module software update.) Check under the download section below for the latest version. Bootloading of the HEX-file can be done with Tiny Bootloader.
RX circuit, LCD contrast Adjust: Connect pin 5, JP3 to +5V before powering up. Release when the desired the contrast is reached.
Downloads: right-click & save as
| TX circuit HEX: 025tx_v10.hex for 18f452 – May 31, 2006.
RX circuit HEX: 025rx_v009.hex for 18f2550 – June 1, 2006. Both can be bootloaded with Tiny PIC bootloader through the RS232 port (JP2)
|
| TX & RX circuit schematics, pcb layouts and CCS C Source Code: not released, but you can buy a license on our Products page. |
For more detail: Wireless MultiMeter using PIC18F452 Microcontroller
- How does the project read data?
The system reads all LCD data directly from the main chip of a cheap DMM. - What microcontrollers are used in the TX and RX circuits?
The TX circuit uses a PIC 18F452 and the RX circuit uses a PIC 18F2550. - Can the software be upgraded?
Yes, the software is 100% upgradable using a simple bootloader. - What is the maximum transmission distance?
The max distance is 30m indoors and 100m outdoors. - How do I adjust the LCD contrast?
Connect pin 5 on JP3 to +5V before powering up and release when the desired contrast is reached. - How can I update the module software?
You can use the Tiny Bootloader through the RS232 port at JP2. - Does the device have a power indicator?
Yes, a low power LED blinks when sending or receiving data. - What programming language was used for the source code?
The source code is written in CCS C.
