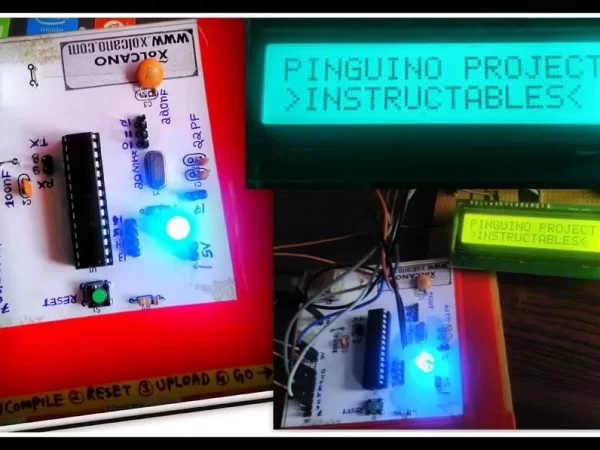
Summary of Pinguino Project: A PIC Microcontroller Based Arduino
This tutorial shows how to build a Pinguino: a PIC18F2550/4550-based Arduino-compatible board with USB support, covering required parts, circuit assembly on breadboard or PCB, downloading Pinguino IDE and bootloader, using PICkit2 to program the bootloader, installing drivers, and running an example Blink sketch.
Parts used in the Pinguino Project:
- PIC18F2550 (28pin) or PIC18F4550
- 20 MHz crystal
- 22 pF capacitors x2
- 470 ohm resistors x2
- USB B type PCB mount
- 220 nF capacitor
- Jumpers (a few)
- LED x1 or x2
- Push button
- 10K ohm resistor
This is a complete tutorial to make a PIC Microcontroller based Arduino.
Step 1: Things Needed
- PIC18F2550 (28pin) x1
- Crystal 20Mhz x1
- Capacitor -22pf x2
- Resistor 470ohm x2
- USB B type PCB mount x1
- Capacitor 220nf x1
- Jumpers (a few)
- LED x1 or 2
- Push button
- Resistor 10K ohm x1
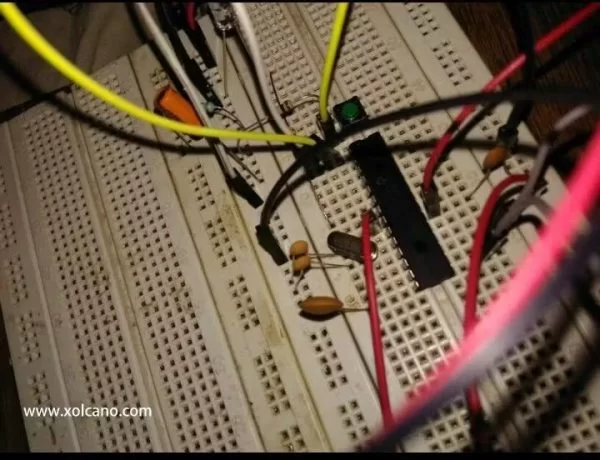
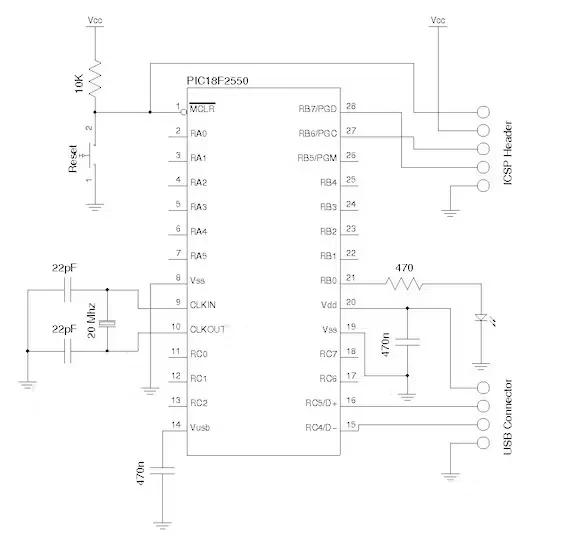
Step 2: Circuit Diagram for Pinguino Board
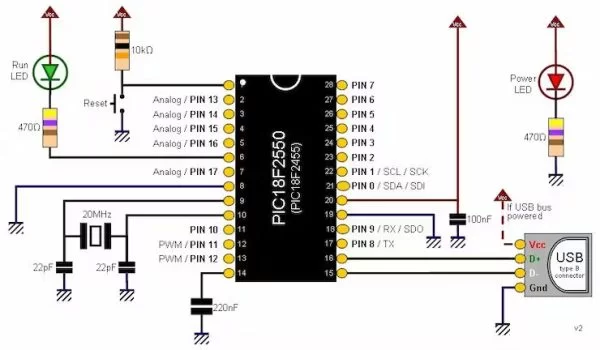
Connect all the components as shown in the circuit diagram on Breadboard or you can make your own PCB board, here I used Breadboard for my project.
Step 3: Downloading PINGUINO IDE
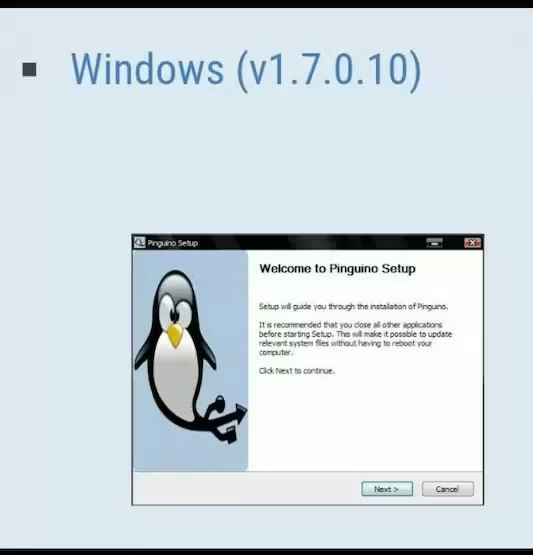
Download Pinguino IDE from this website: http://www.pinguino.cc/download.php
Step 4: Download Bootloader File!
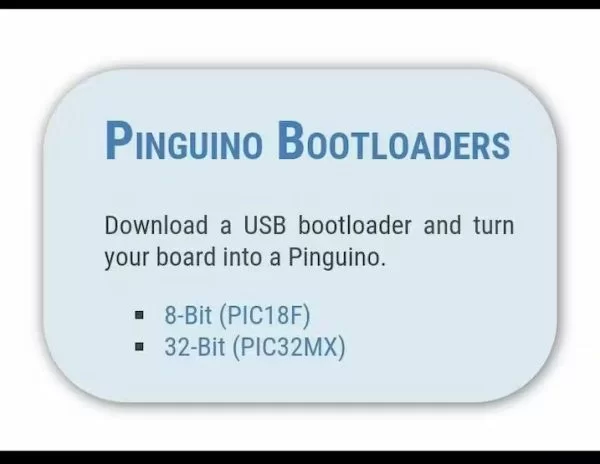
https://github.com/PinguinoIDE/pinguino-bootloader…
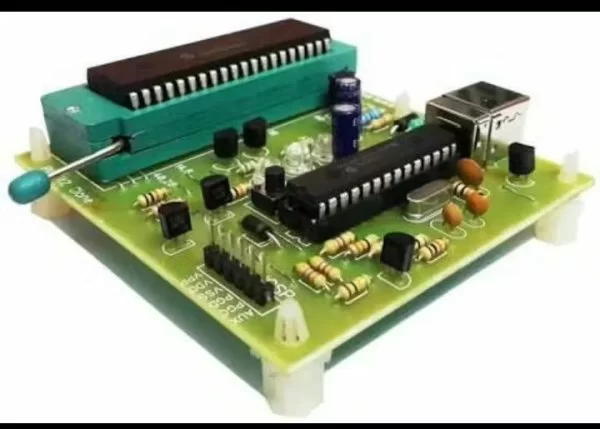
Step 5: I used PICKIT2 which I Purchased it from Amazon
https://electrosome.com/pickit2/
Here we just need to put microcontroller on to the ZIF socket and connect it to PC, open PICKIT2 software and upload the code.
NOTE: If you are using standard PICKIT2 then follow next step!
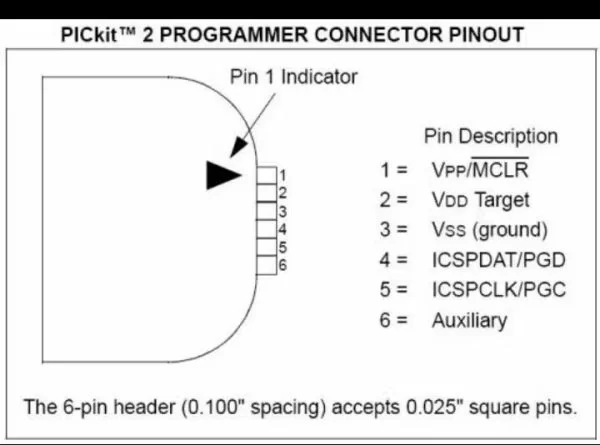
Step 6: How to use PICKIT2 to Upload HEX file to the PIC microcontroller
Download PICKIT2 software here: http://pickit2.software.informer.com/download/
Download PDF from Microchip on uploading HEX file to PIC microcontroller using PICKIT2: http://ww1.microchip.com/downloads/en/DeviceDoc/PI…
PICkit is a family of programmers for PIC microcontrollers made by Microchip Technology. They are used to program and debug microcontrollers, as well as program EEPROM. Some models also feature logic analyzer and serial communications (UART) tool. The PICkit 2 — introduced in May 2005 — replaced the PICkit 1. The most notable difference between the two is that the PICkit 2 has a separate programmer/debugger unit which plugs into the board carrying the chip to be programmed, whereas the PICkit 1 was a single unit.
This makes it possible to use the programmer with a custom circuit board via an In Circuit Serial Programming (ICSP) header. This feature is not intended for so-called “production” programming, however. The PICkit 2 uses an internal PIC18F2550 with Full Speed USB. The latest PICkit 2 firmware allows the user to program and debug most of the 8 and 16 bit PIC micro and dsPIC members of the Microchip product line.
More info from this website: https://www.pantechsolutions.net/microcontroller-b…
Step 7: After Bootloading
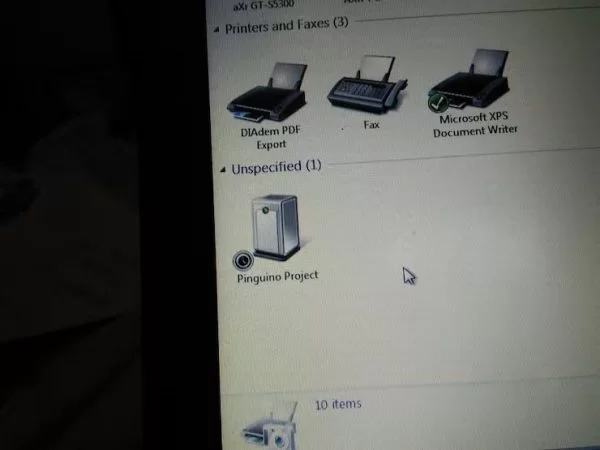
Make Pinguino circuit and connect it to the computer through USB, upload Pinguino project drivers. You can download it from Pinguino official website and everything is ready to Code.
Step 8: Pinguino BLINK
void setup()
{
pinMode(USERLED, OUTPUT);
}
void loop()
{
digitalWrite(USERLED, LOW);
delay(50);
digitalWrite(USERLED, HIGH);
delay(50);
}
For more examples: http://wiki.pinguino.cc/index.php/6_ways_to_blink_…
- What microcontrollers can run Arduino programs in this project?
PIC18F4550 or PIC18F2550 can run Arduino programs in this project. - Do these PIC microcontrollers require an external programmer for USB support?
No, these microcontrollers have inbuilt USB support and do not require external USB programmers for USB connectivity. - How is the bootloader uploaded to the PIC microcontroller?
The bootloader is uploaded using a programmer such as PICkit2 by placing the microcontroller in a ZIF socket, connecting to PC, and using the PICkit2 software to upload the HEX file. - Where can I download the Pinguino IDE?
Pinguino IDE can be downloaded from the Pinguino website at http://www.pinguino.cc/download.php as stated in the article. - What should I do after bootloading the PIC?
After bootloading, connect the Pinguino circuit to the computer via USB, install Pinguino project drivers, and then you are ready to code. - Which programmer model did the author use to load the bootloader?
The author used PICkit2 to upload the bootloader to the PIC microcontroller. - Can the Pinguino circuit be built on a breadboard?
Yes, the circuit can be assembled on a breadboard or a custom PCB as shown in the tutorial. - Is there an example sketch provided in the tutorial?
Yes, the tutorial provides a Pinguino BLINK example sketch showing setup and loop with digitalWrite and delay.