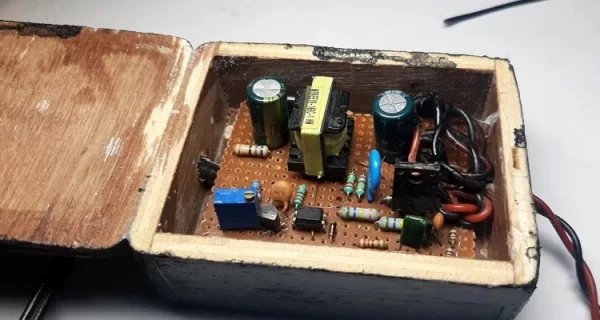
Build Your Own 5V, 1A Adjustable SMPS Using a Dead Computer ATX Power Supply
A Switch Mode Power Supply (SMPS) is an indispensable part of any electronic design. It is used to convert mains high-voltage AC to low voltage DC, and it does it by first converting the mains AC to high voltage DC, then switching the high voltage DC to generate the desired voltage. We have already made a few SMPS circuits earlier, like […]
Build Your Own 5V, 1A Adjustable SMPS Using a Dead Computer ATX Power Supply Read More »