Description
As featured in Electronics Weekly Gadget Freak (20/02/2008)
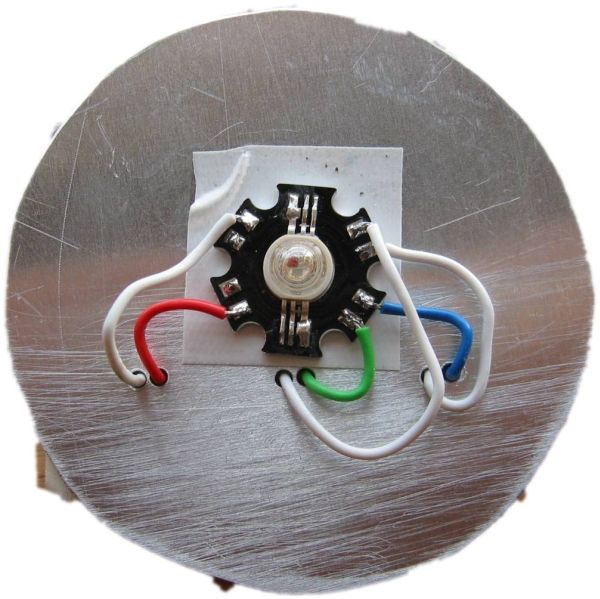
The main reason I made this version is that I wanted to fit it in to the base of an Ikea Mylonit lamp. This lamp is made entirely from glass and has a small recess in the base with an entry for the power lead. Since it had nowhere to fit a separate power connector but did have a slot for a power lead to pass in to the base, I needed to make a PCB with a DC power connector in the centre of the board. At the same time I took the opportunity to tweak the circuit slightly and left out things it didn’t need. The changes are detailed below. Please note that the original version on the main page is still perfectly okay and you may find the single sided PCB easier to make.
Changes for R3
This version uses a double sided PCB. Dimensions are approximately the same as the original version.
Removed the second push button switch and components for the RS232 serial interface.
Added 22K resistor between MCLR input and Vdd. This eliminates the need for a jumper on the ICSP header in normal operation. (If you use a 12F683 you can omit this resistor as well since it has an internal pull-up)
Provision for a surface mount DC power socket.
Removed the power-on LED and series resistor.
Added 47K pull-up resistors to the transistor drive circuit. On the original version, when it first powered on the RGB LEDs would flash at 100% brightness very briefly. This is caused by the PIC I/O lines defaulting to inputs at power-up and until the software starts and sets them as outputs the PWM inputs to the ZXLD1350 are enabled. This modification prevents this from happening. NOTE: it’s purely for aesthetics, not a fix for a design fault.
In all other respects the circuit and software is identical to the version 2 design on the main page.
Schematic
Version 3 PCB
Construction Notes
| You must drill vias and solder links between the ground plane and the top side of the board. These are circled in Yellow.There are also six vias linking tracks on the top and bottom of the PCB. These are circled in GreenYou must ensure you add these or the circuit will not function correctly, if at all. |
The pad size for the three inductors is SM2512. There are such a variety of inductors that could be used here with so many different footprints. I’ve left some clear area around the pads to facilitate the use of various inductors but you should make sure that the ones you do use aren’t going to touch other areas of copper. This may require some creative positioning of the inductors.
For more detail: RGB LED PWM Driver for High Power 350mA LEDs V3 using PIC12F629