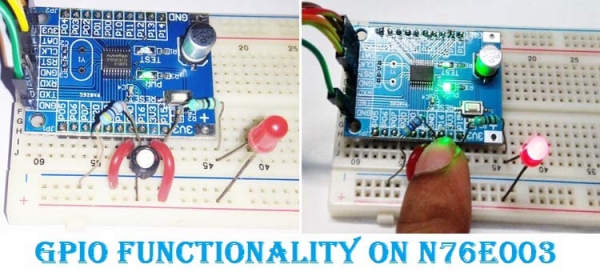
Simple GPIO Functions on Nuvoton N76E003 – LED Blinking and Controlling LED using a Push Button
In our previous tutorial, we used a basic LED blinking program as a getting started with N76E003 guide, we already learned how to configure the Keil IDE and set up the environment for programming the nuvoton microcontroller unit N76E003. It is the time to move a little bit further and use the basic GPIO interface for controlling additional hardware. If you […]