This in-depth guide will go over the steps required to connect the chipKIT WF32 to LabVIEW using LabVIEW MakerHub LINX. LINX is used to interact with common embedded platforms like Arduino, chipKIT and myRIO.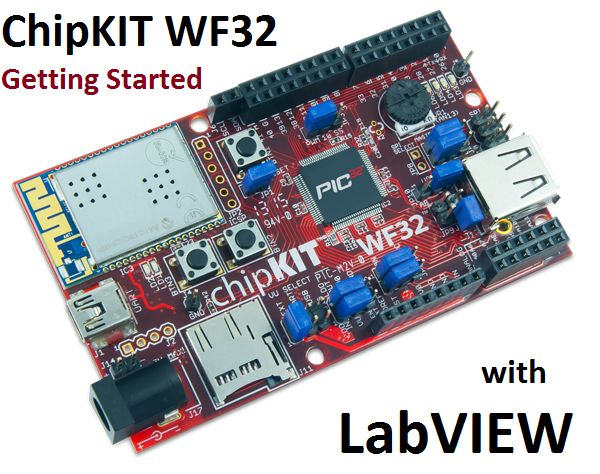
Digilent sells a bundle that includes the chipKIT WF32 and LabVIEW HomeBundle called the LabVIEW Physical Computing Kit. Feel free to check out some of the other Instructables I have made to see some of the things you can do with LabVIEW Home Bundle and the WF32.
Step 1: LabVIEW Installation
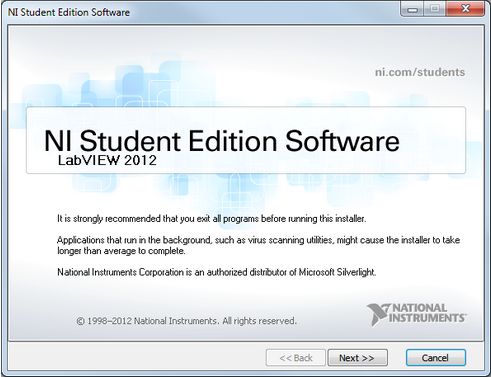
The first step is to download LabVIEW or use a physical copy. If you do not own a version of LabVIEW, you can download the free trial from National Instruments.
If you have LabVIEW Home Bundle, you need a specific version of LabVIEW. Check out this Instructable for step-by-step instructions on how to install LabVIEW Home Bundle.
Next, install LabVIEW. If you are having trouble installing or if you have any questions, check out this helpful tutorial made by National Instruments.
Once LabVIEW is finished installing, restart your computer. Now we need to install NI VISA.
Step 2: Install NI VISA
Next, install NI VISA. NI VISA is utilized by LINX in order to communicate with the WF32 and the other supported boards. The download has an installer that will guide you through the installation process.
Step 3: Install LabVIEW MakerHub LINX
To connect with LabVIEW, LabVIEW MakerHub LINX is used. LINX provides multiple LabVIEW VIs ranging from a basic analog read to setting up different communication protocols and more.
If you’re having trouble, a detailed installation instruction video can be found on the LINX main page on the LabVIEW MakerHub website by clicking on “Getting Started.”
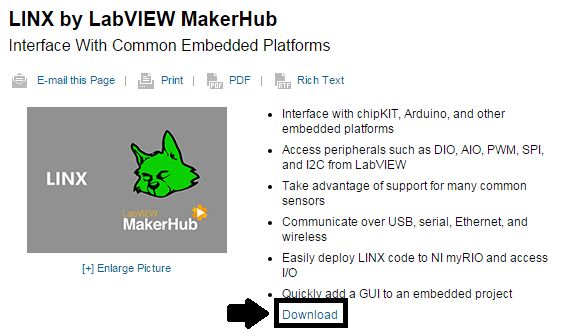
Download LabVIEW MakerHub LINX here by clicking on download from the attached page. Click download toolkit after clicking download. This is a VI Package Manager link so click launch application to open the VI package manager.
Choose your version of LabVIEW in the upper left corner of the window that pops up and click install. The list of packages will be listed…just click next. Accept the license agreements. LINX will now be downloaded and installed. Once the installation is finished, restart LabVIEW and close all of the VIPM windows.
Step 4: Setting Up the WF32
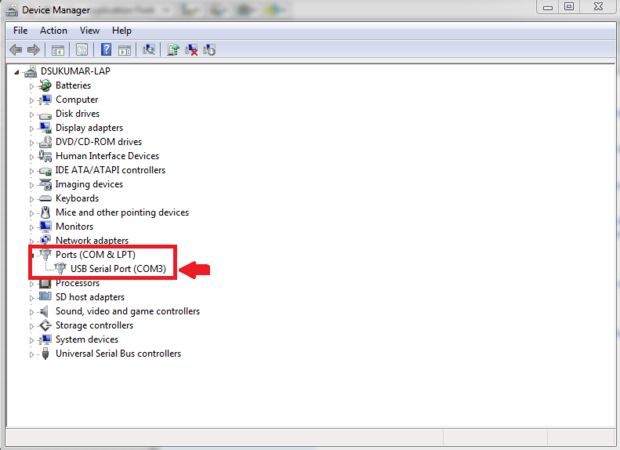
With all the required software installed, connect chipKIT WF32 to your PC using a USB A to mini B USB cable. To make sure drivers are installed correctly, open the device manager from the control panel and expand the Ports section. The COM port is the chipKIT WF32 and if the drivers were not installed correctly, a yellow exclamation mark will appear over the device. If the drivers were not installed properly, download the drivers for your device which are included as part of MPIDE found here.
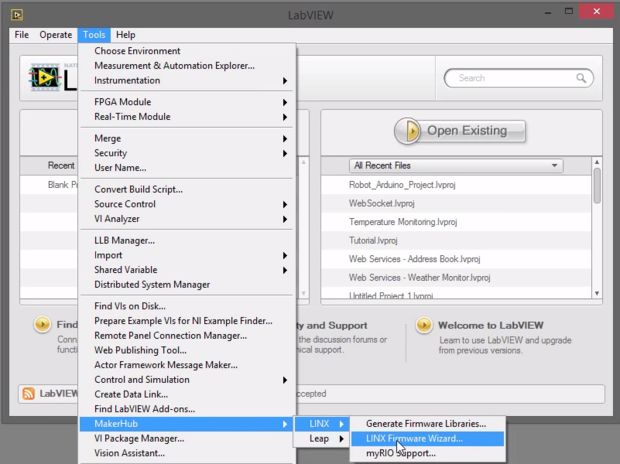
With the drivers installed, right click on the COM port for the chipKIT WF32 and click properties then click on port settings and choose advanced. Under the BM options, change the latency timer to 1 ms. Now, launch LabVIEW and click tools –> MakerHub –> LINX –> LINX Firmware Wizard to deploy the LINX firmware to the chipKIT. Choose Digilent from device family and choose chipKIT WF32 from device type and click next (pictured above). Choose the COM port that the WF32 is connected to. Click next and then choose LINX serial/USB and click next again. The firmware will then be transferred to the WF32 and the on-board lights will flash. Again, if you’re having trouble with these steps, check out the guide on LabVIEW MakerHub for step-by-step video instructions.
After the firmware wizard is finished, click on launch example.
Step 5: Run an Example
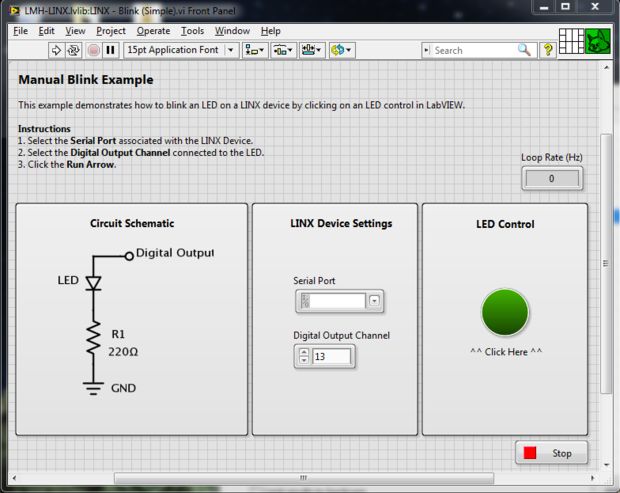
This is the LINX example Manual Blink.
In the serial dropdown menu, choose the com port that the WF32 is connected to. Select digital channel 13 which is the channel for the on-board LED. Click run to run the VI. The on-board LED will turn on or off when the LED toggle is clicked on the front panel.
When you’re done, click stop on the front panel to stop the VI.
More LINX examples can be found by clicking the help tab in LabVIEW and clicking on Find Examples…From here, search for LINX and the LINX examples will appear.
Step 6: Setting Up WiFi on ChipKIT WF32
To set up WiFi on the WF32, you need to deploy the WiFi firmware. Open LabVIEW and under tools, click MakerHub –> LINX –> LINX Firmware Wizard. This will open the firmware wizard. Choose Digilent, chipKIT WF32, and Serial/USB. Click next. Now choose the COM port that the WF32 is connected to. Click next. Now under firmware version, choose LINX – WiFi.
Enter your network information including SSID, password type, password, port, and IP address for your WF32. For IP address, use an IP that is not being used in your network that is in your network’s range. This will be the IP address assigned to the WF32. For port, I just use 44300. To find out your IP and your default gateway, open the command prompt and type ipconfig. The IPv4 Address if your computer’s IP and also note the Default Gateway. In my case, my default gateway was 192.168.1.1. Therefore, for the WF32 IP, I randomly chose 192.168.1.127.
Once all of the information is filled out, click next. The lights on the WF32 will flash while the firmware is deployed.
Once the firmware is uploaded. Ping the device by opening the command prompt and ping your WF32 IP address. In my case, I would type “ping 192.168.1.127”.
Feel free to click launch example after the firmware is done. This is the same example as earlier but with the WiFi setting instead of the serial port connection. Enter the device IP you created and the port. Run the example and check if the on-board LED blinks.
Step 7: Extra Resources
Here are some useful resources for learning basic LabVIEW coding and LINX.
1. Youtube guides by National Instruments
2. LINX Basics from LabVIEW MakerHub
3. LabVIEW Basics from LabVIEW MakerHub
If you have any questions, feel free to comment or you can post LabVIEW and LINX related questions on the MakerHub Forums.

