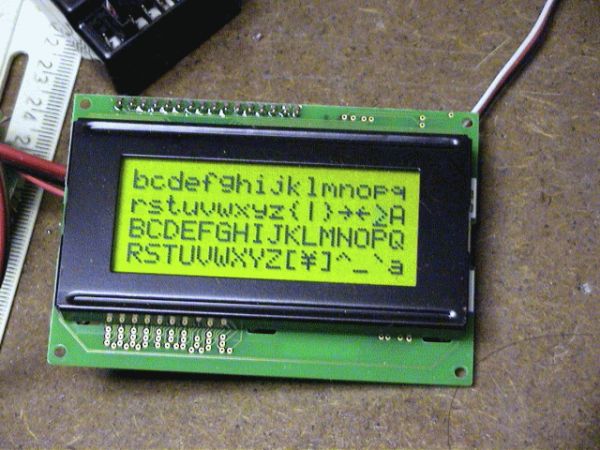
This project shows you how to create a serial LCD module that you can drive from any serial RS232 interface. It uses a pure ASCII command set so you can control it easily from a terminal program such as Hyperterminal.
There are no ‘odd’ command sequences such as 0xef to define a command – you can type all commands at the terminal interface making it very easy to use

It’s also easy to test it out manually before driving it with a program.
Once you have decided what you want to do a microcontroller can generate the same commands or you can send them from a PC program.
If you want to use it as a debugging terminal for your PIC projects then it makes sense to remove the level translator and just use the 0-5V input otherwise you would end up having two level translators for no real reason!
Note: Using it like this you will need to invert the RS232 output data so you either need an inverter chip if driven from the built in USART or you can drive it using a software USART (The transmitter part anyway) since you will have full control over the output signal.
Serial LCD Specification
| Baud Rate | 2400 |
| Crystal | 20Mhz – you can use a lower value xtal but must re-compile the files and set the clock value into the MikroC chip settings. |
Serial LCD Project Details
You can recompile the serial LCD files if you want examine code operation (using the built in simulator) or change the source code. Note the hex file is contained in the download.
Serial LCD Command set
All commands are prefixed with the hash character ‘#’. In all cases except #X and #Y the single character following the ‘#’ causes a command to execute. For #X and #Y the decimal digits following (up to 2 digits) specify a position on the display.
Note: for #X and #Y the top left position is at 0,0.
Serial LCD Command Set list (uses upper or lower case):
| Serial LCD Commands | |
| #C or #c | Clear screen |
| #H or #h | Cursor Home |
| #L or #l | Cursor Left |
| #R or #r | Cursor Right |
| #U or #u | Cursor Underline mode |
| #B or #b | Cursor Block mode |
| #I or #i | Cursor Invisible |
| #F or #f | Display OFf |
| #O or #o | Display On |
| #Xnn or #xnn | Cursor X position (left nn=0) |
| #Ynn or #ynn | Cursor Y position (top nn=0) |
| #> or #. | Scroll display right (hash dot as easier to type!) |
| #< or #, | Scroll display left (hash comma as easier to type!) |
| ## | Display a ‘#’ character. |
To clear the display you would type:
#C
To set the cursor to block mode type:
#B
X and Y commands
There must be at least two digits following the #X or #Y command unless the following command is not a digit. All this means is that you can finish an X or Y commands by typing a letter – if you type a digit the parser won’t know if it is a digit to display or a digit to specify the position.
Here is a cursor positioning example command sequence:
| #H | Home | Sets cursor position to (0,0) – top left. |
| #X3JFM | Set X and print | Sets the X position to 3 and prints JFM (Note the cursor is only moved once the J is entered). |
You can also use the longer command:
#H#X00JFM
It does exactly the same thing but the cursor is immediately moved after the ’00’ since the command parser knows that it is the end of the X cursor position command as it only accepts 2 digits.
For more detail: Serial LCD project using PIC16F877A Microcontroller
