Many of you who follow my For Cheap Robots series are familiar with how to use MPIDE with chipKIT products. You may even be familiar with how to use the Arduino IDE with these boards. So far, however, I have not used MPLAB X very much.

MPLAB X is a powerful IDE, made by Microchip, which gives you direct access to the registers onboard the PIC microcontrollers that chipKIT boards use. This allows for much more refined control over the boards and access to more of their hardware that is glossed over by Arduino.
Futhermore, because MPLAB X does not require the bootloader needed by Arduino and MPIDE, it allows you to use more of the programming space on your boards.
~~~~~
For more things that I’ve done, you can check out my profile page!
For more info from Digilent or the Digilent Makerspace, check out the Digilent blog!
Step 1: WARNING
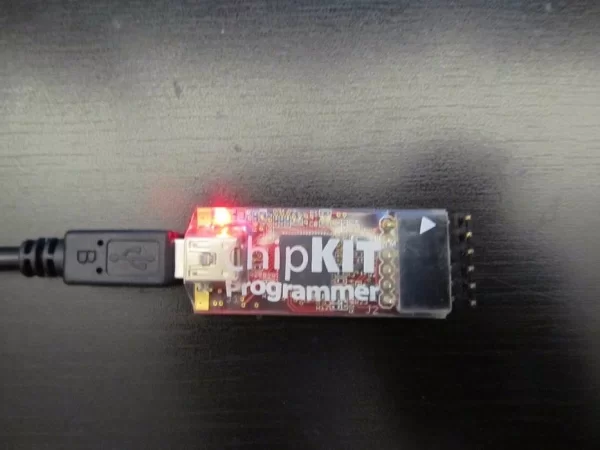
Using MPLAB requires a chipKIT PGM. Furthermore, programming your board with MPLAB and the PGM will overwrite your bootloader. This means that once you use MPLAB, you will not be able to switch back to using Arduino or MPIDE until you re-load the bootloader.
Thereare several tutorials here on Instructables that cover how to re-load the bootloader for the DP32. This will also work for the WF32, and most other chipKIT boards. There are extra steps needed for reloading the bootloaders on the uC32, however, so I will be covering that process in another tutorial.
I’m also going to take this moment to point out that I will not be covering how to program your chipKIT boards in MPLAB. That’s another can of worms entirely, so I’ll be covering that in a separate tutorial.
Step 2: Downloading MPLAB X
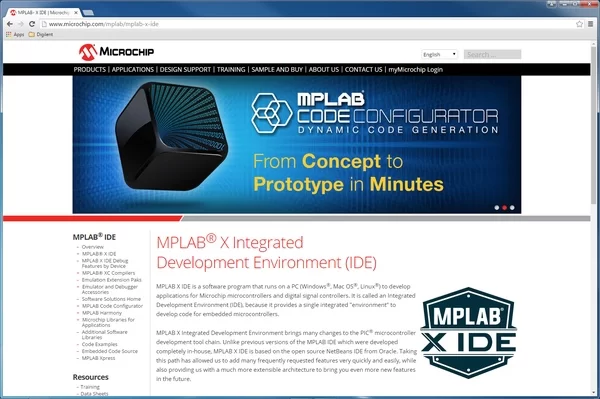
Go to the Microchip MPLAB X website and scroll down. You’ll see a row of tabs. Click the one that says “Download”. Click on the link for your operating system, and the installer should begin downloading.
(Side Note: Because I already have MPLAB X installed, for this tutorial I’m going to be installing an older version, which can be found in the “Download Archive” tab. I’m installing IDE 3.10. The latest version (as of this writing) is 3.30.)
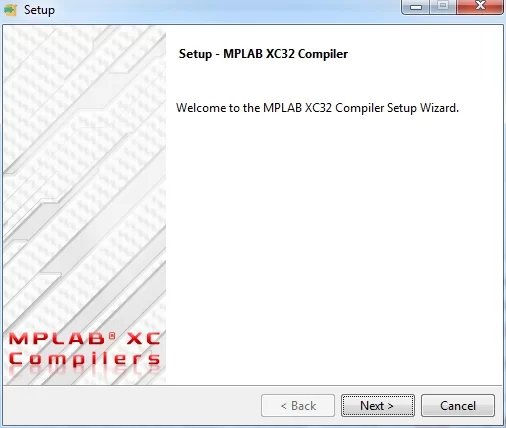
Step 3: Install
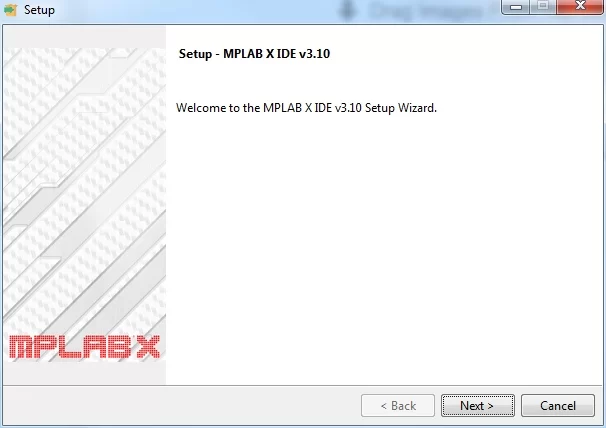
This step is fairly straightforward, so I won’t belabor it. I will however point out one thing worth noting.
Run the installer and agree to the terms of use. Pretty standard fare for an installer, however eventually you should get to a step that looks like picture 2, which asks about installing the IDE, or installing the IPE. Both of these boxes should be checked automatically, but if they aren’t, go ahead and check them.
The IPE is an Integrated Programming Environment. It’s helpful if you have a pre-built hex file that just needs uploaded onto the board. Specifically, this tool is useful for re-loading the bootloaders onto chipKIT boards, so you can use them with Arduino again.
You can use just the IDE to do this, however I find the IPE is more streamlined.
Step 4: DownloadingThe Compiler
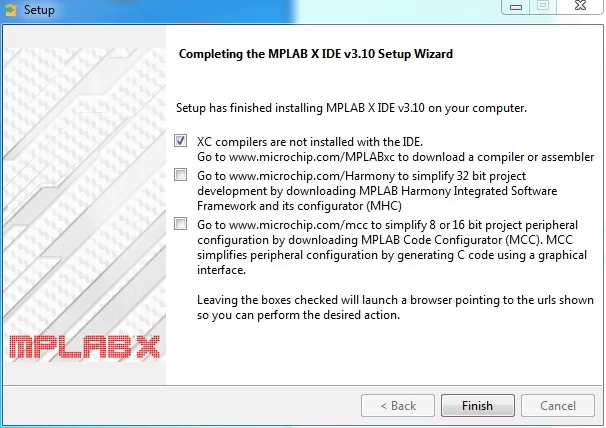
Immediately after your install finishes, you should be taken to one last page of the installer, with three check boxes. Each of these check boxes, if left checked, will open a tab in your default browser that goes to a website for a Microchip product. The only one we’re interested in right now is the XC32 compiler, which is the top option.
Leave the top box checked, and uncheck the other two (as in the first picture).
When you hit “Finish”, this will open up a new tab to the XC compiler page. Scroll down until you see a row of tabs, and click the one labeled “Downloads”. Download the XC32 compiler for your operating system.
It’s important that you get the XC32 compiler, because all the chipKIT boards use 32 bit microcontrollers. You can also download the 16 and 8 bit compilers (XC16, and XC8, respectively), but those will only be useful if you use 16 or 8 bit boards, which chipKIT boards are not.
Step 5: Installing the Compiler
Once the download is complete, you can run the XC32 installer, which will take you through the process itself.
It’s worth noting that we are installing the free version of the XC32 compiler. You do not need to pay for any licence this way, and it will serve our purposes just fine.
After your compiler installs, there will be one last step in the installer which will ask you to activate or purchase a licence. Because we’re using the free licence, we don’t need to do this. However, below that is a key and a link for a free C++ liscence.
Generally speaking, C++ creates larger programs than C, and personally I don’t use C++, but you can if you want.
Step 6: That’s It!
You’ve now installed MPLAB X!
If you’re used to Arduino or MPIDE, MPLAB is a completely different beast. Arduino makes a point of taking care of most of the really difficult stuff for you behind the scenes. By removing that divide between the programmer and the microcontroller, MPLAB is at the same time more difficult to use, and more challenging.
I won’t be getting into how to use MPLAB and chipKIT boards too much, but I will be writing a blog which explains how to make a simple LED blinking program, and what’s actually going on inside the board.
Hope you found this useful!