


ave an old hard drive that no longer works? As long as it still spins up chances are you could build a clock out of your old hard drive!
You will need some electronic knowledge, some common electronic components and a bit of
patience. The clock that is produced isn’t exactly practical since most hard drives (especially older ones) are too loud for a clock that is to operate 24 hours a day.
VIDEOS
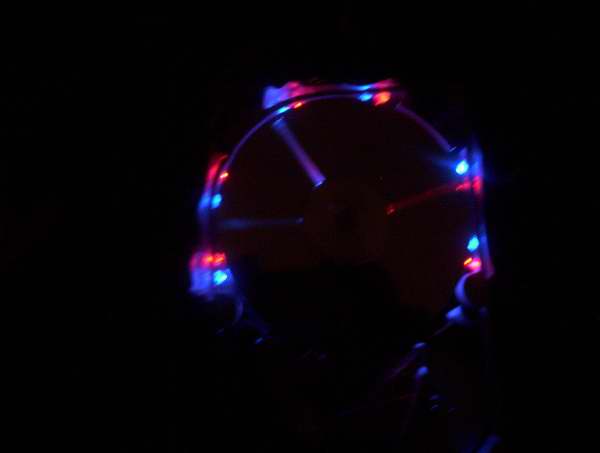
Watch a video (1.5MB) of the clock in operation!It takes the clock a sew seconds for the speed to stabilize, during this time there is a random pattern of lights that is displayed. After this the clock starts up. It is shown starting at 2:40:00.
Another video (4.7MB) this one shows the clock time being set.Three buttons on the back allow clock adjustment. The purple second hand resets to the zero mark when it’s button is pressed. The blue minute hand increments through each minute and the red hour hand increments through each hour. The position of the hour hand is also dependent on the minute hand. For example the time is 2:30 the hour hand will be pointing at the 12 minute mark.
OVERVIEW
- Uses 12 high power LEDs for displaying the clock hands, 6 Blue and 6 Red.
- Slot cut into upper drive platter and white tape on center drive platter provides a slot that when illuminated by the LEDs will represent a clock hand.
- Minute hand is represented by blue light, hour hand is represented by red light and the second hand is represented by purple (both blue and red on at the same time).
- Infrared Beam sensor and drilled index hole in lower drive platter.
- Three micro switches to set hours, minutes and seconds.
- Custom programmed PIC16F628 microcontroller to control clock operation.
Be informed when new projects are available or additional project information is posted by signing up to our mailing list.
STEPS TO CONSTRUCT CLOCK
1) Select Drive: Find an old hard drive that can spin up when power is connected, you may have to disconnect the 40 pin data cable to see that it can spin up. The drive must spin counter clockwise.
2) Open Drive: Open the drive and see that there are three platters in the unit. We will need three since the top one will have a slot cut into it, the second one will have a piece of white tape (or some other highly reflective material attached. And the third platter will have an index hole drilled into it, this index hole will be used to determine where the slot is when it is spinning. It could still work using a two platter drive but the top of the infrared beam sensor would be visible when a hand is over it.
3) Cut Slot: Remove the screw in the center of the platters, this should allow the platters to be removed. Cut a slot into the 1st platter, I clamped the platter into a vice protecting the surface with cardboard so it wouldn’t scratch. A grinder was then used to cut the grove. It was very easy to cut since it was made of aluminum. NOTE: The top platter that I ended up using was from a more modern drive. The older drive had platters that were dark brown and not very reflective, the modern drive had platters that had a silver mirror finish.
For more detail: Hard Drive Clock using PIC16F628
Related projects
DHT11 Low Cost Humidity Sensor using PIC16F628A with Proteus Simulation
IntroductionThis microcontroller project demonstrates how to interface a low-cost DHT11 temperature and humidity sensor with a PIC16F628A using a Proteus simulation environment.The...
LCD & Display Projects · PIC16F628AFrequency Counter by PIC16F628
In this project we are building a basic and low cost frequency counter circuit . It can measure from 16Hz to 100Hz...
Games, Toys & Calculators · PIC16F628ATIC TAC TOE game using PIC16F628
This project is not to introduce Tic Tac Toe. Everyone knows this game. It's to introduce two features. Bi-coloured LEDs, microcontrollers and...
Clocks & TimersAdaptive Alarm Clock: Build a Smart, User-Centric wake-Up system
Project Overview The goal of this ambitious undergraduate project was to develop a novel alarm clock capable of analyzing a person's unique...
Clocks & TimersDesigning Your Ideal Alarm Clock: An Introduction to PIC18
Within this laboratory session, you'll employ the C language to create an alarm clock, delving into the implementation of "C" programs on...
Clocks & TimersBuilding your Dream Alarm Clock Using the PIC18
Objective: In this laboratory session, your objective is to create an alarm clock using the C programming language. You will gain proficiency...

Ibrar Ayyub
I am an experienced technical writer holding a Master's degree in computer science from BZU Multan, Pakistan University. With a background spanning various industries, particularly in home automation and engineering, I have honed my skills in crafting clear and concise content. Proficient in leveraging infographics and diagrams, I strive to simplify complex concepts for readers. My strength lies in thorough...