
Summary of Microcontroller with single LED Project in Proteus
This simulation project demonstrates writing PIC16F84A assembly to turn on a single LED and simulating it in Proteus VSM. It guides creating a Proteus firmware project, placing components (resistors, crystal, LED), setting VCC to +5V, adding provided assembly source, and explains code lines that configure the processor, set PORTB as output, and drive RB0 high to light the LED.
Parts used in the Microcontroller with single LED Project:
- PIC16F84A microcontroller
- 330 ohm resistor (9C04021A3300FLHF3)
- 10K ohm resistor (9C08052A1002JLHFT)
- Crystal
- Green LED (LED-GREEN)
- VCC +5V power
This is a simulation project that shows how to write program in assembly language for PIC16F84A microcontroller that turns on a single LED and use it in Proteus VSM to stimulate the working of the microcontroller controlled LED.
To do this start by creating a new project in Proteus, give some name and save it to some folder.
Click Next. We require a schematic so select Create a schematic from the selected template and choose default or any size you want.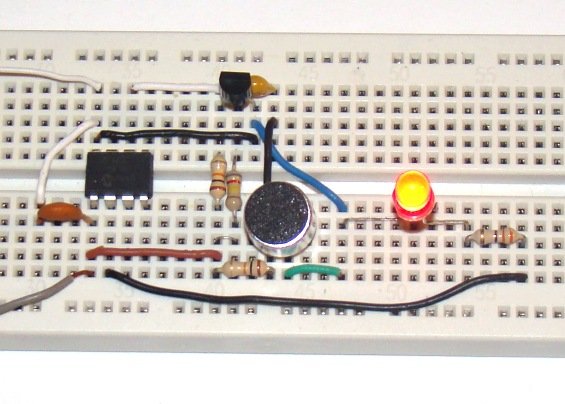
Click Next. We do not require a PCB so select Do not create a PCB layout and click next again.
We do require a Firmware so select Create a Firmware Project and select PIC16 as Family, PIC16F84A as Controller, MPASM(MPLAB) as the Compiler.
Clicking next will bring up the source code editor window and the schematic window. Go to the Schematic and add the following components-
- 9C04021A3300FLHF3 (330ohm resistor)
- 9C08052A1002JLHFT (10K ohm resistor)
- CRYSTAL
- LED-GREEN
The PIC16F84A micro-controller is already added so no need to add that part.
Draw the schematic as shown-
Click on the VCC power and change it to +5V
Now switch over to the Source Code by clicking on the Source Code tab. The Source code editor shows a default template. Delete the template code and Copy the following code below into it.
processor 16f84A
include <p16f84A.inc>
__config _XT_OSC & _WDT_OFF & _PWRTE_ON & _CP_OFF
org 0 ; start at address 0
goto main
;=============================
; space for interrupt handler
;=============================
org 0x04
;=============================
; main program
;=============================
main:
; Initialize all line in port B for output
movlw B’00000000′ ; w = 00000000 binary
tris PORTB ; Set up port B for output
; Turn on line 0 in port B. All others remain off
movlw B’00000001′
movwf PORTB
; Endless loop intentionally hangs up program
wait:
goto wait
end 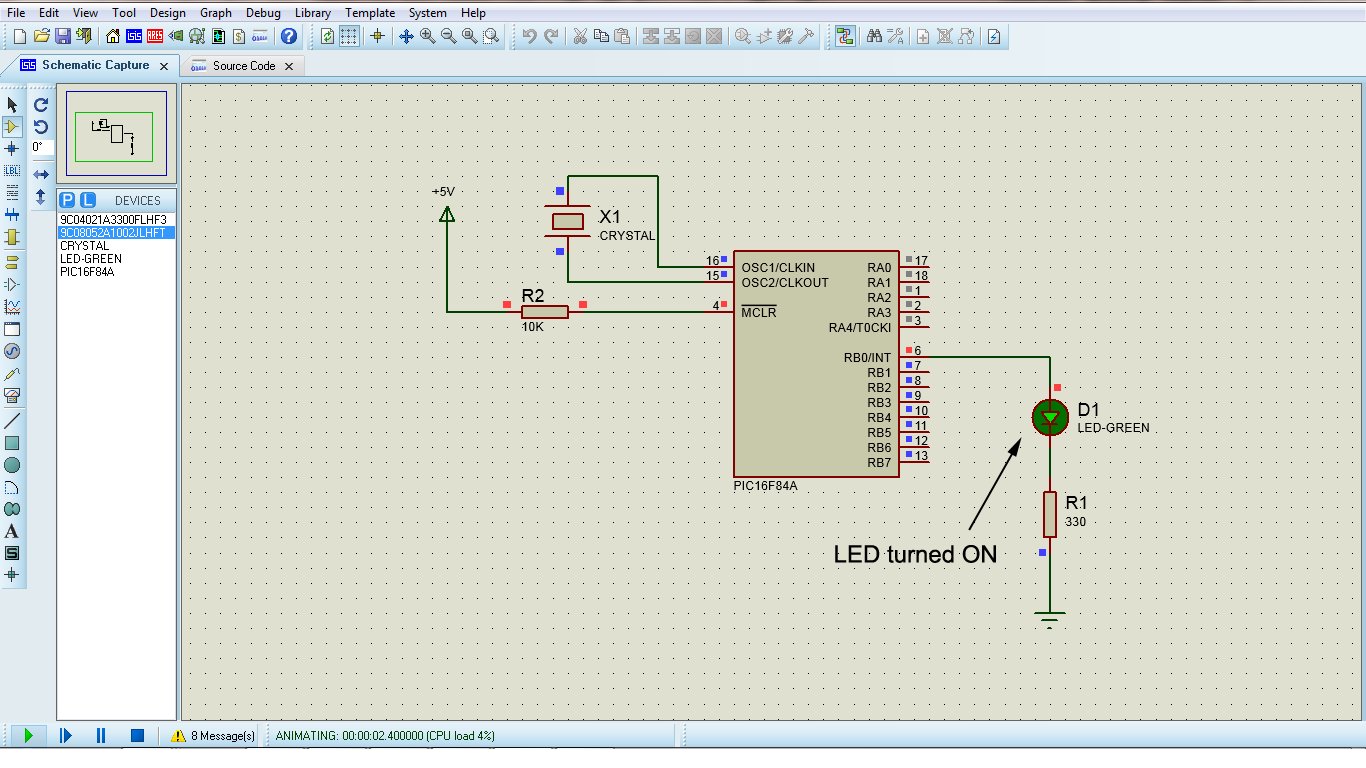
Code Explanation
The part “processor 16f84A” tells which microcontroller is being used. The “include <p16f84A.inc>” part is a directive that tell to use the p16f84A microcontroller include file. The __config directive specifies various configuration aspect of the microcontroller such as the type of the oscillator, whether watch dog timer is on or off, whether the Power-Up timer is on or off and code protection is on/off. Then Org 0 tells the assembler to assemble all subsequent code starting at address 0. The next instruction it reads is the main so the program control goes to main. The instruction movlw B’00000000′ tells to load working register with 000000000. The instruction tris PORTB tells to make the Port B direction as output. Then the sequence of instruction movlw B’00000001′ and movwf PORTB directs to turn on the line 0 of the Port B.
For more detail: Microcontroller with single LED Project in Proteus
- How do I start the Proteus project for this simulation?
Create a new project, choose Create a schematic, Do not create a PCB layout, and Create a Firmware Project selecting PIC16 family, PIC16F84A controller, and MPASM(MPLAB) compiler. - What components are added to the schematic?
330 ohm resistor, 10K ohm resistor, crystal, green LED, and the PIC16F84A which is already present. - What voltage should VCC be set to?
Change the VCC power to +5V. - Where do I put the assembly code in Proteus?
Switch to the Source Code tab in the firmware project, delete the template, and paste the provided assembly code. - What does the program do to make the LED turn on?
It sets PORTB as output, loads the working register with binary 00000001, and moves it to PORTB to turn on RB0. - What does the __config directive specify?
It specifies oscillator type, watchdog timer off, power-up timer on, and code protection off as shown in the code. - Why is there a goto wait loop at the end?
To create an endless loop so the program halts further execution while the LED remains on.
