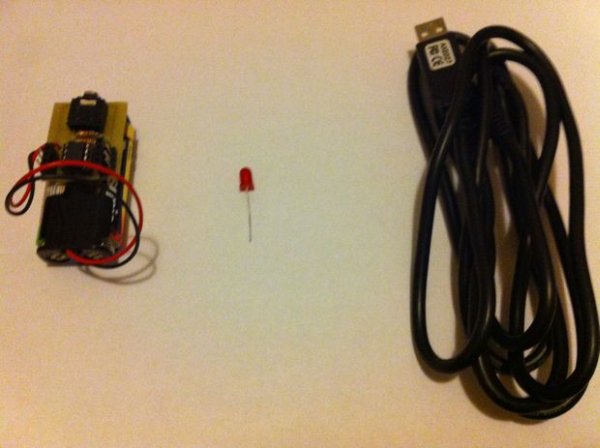
This is instructable for how to get started with PICAXE 08M microcontroller.
To get started, you need:
– 08M Protoboard or same kind of board (Can be homemade)
– A LED
– AXE027 USB Cable
– 3V Power supply
 Step 1: Connect the led to pin 4
Just connect cathode lead to Ground, and anode lead to pin 4 of the microcontroller like this
Step 2: Connect the power and the cable
Connect the power, and plug the cable to the socket.
Then open PICAXE Programming Editor.
If you don’t have it, download it from http://picaxe.com/
Step 3: Write the code and press “Program”
Write this code to the editor:
main:
high 4 ‘LED on
pause 1000 ‘Pause 1 second
low 4 ‘LED off
pause 1000 ‘Pause 1 second
goto main ‘Repeat
Then press the “Program” button on the top.
Step 4: Watch your LED blinking!
It is ready now, good luck for future!
Links:
PICAXE Downloads – http://www.picaxe.com/Software
PICAXE Manuals – http://www.picaxe.com/Manuals
PICAXE Shop – http://www.techsupplies.co.uk/PICAXE
All the links you need to order, download, and study PICAXE!
Hope you enjoyed! 🙂
For more detail: How to get started with PICAXE 08M microcontroller


