
Summary of PURE SINE WAVE INVERTER WITH LED AND LCD
This article outlines the assembly and features of a pure sine wave inverter project. It details voltage options (12V–48V), essential components like the Microchip PIC16F72A or PIC16F876A MCU, and protection mechanisms including low-battery shutdown and overload protection. The design includes an automatic voltage regulator, 16x2 LCD display, and LED indicators. The guide covers five steps from PCB design to testing with a 300W transformer, providing download links for board layouts and video tutorials.
Parts used in the Pure Sine Wave Inverter:
- Microchip PIC16F72A OR PIC16F876A
- 12v relay
- Automatic Voltage Regulator
- 16*2 LCD Display
- LED Indicators
- Error LED
- Buzzer
- H-bridge Board
- 300w Transformer
The inverter PCB is easy to assemble by following the label of the components to be inserted. The choice of the voltage to be used to power the inverter ranging from 12v to 48v depends on kva you are designing. for any setup, a 12v relay is to be use.
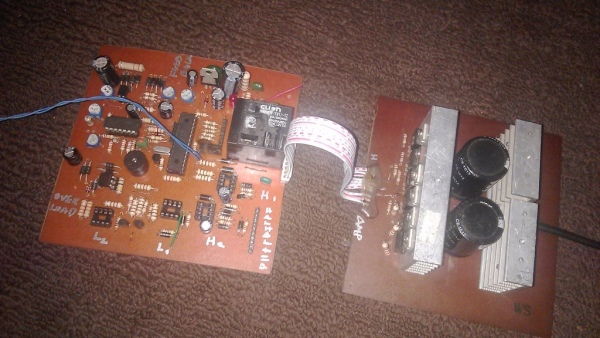
The featuring M.C.U are the Microchip PIC16F72A OR PIC16F876A FEATURES OF THE ABOVE SCHEMATIC ARE STATED BELOW :
INVERTER PROTECTION : LOW-BATTERY SHUTDOWN
: OVER LOAD SHUTDOWN INPUT
: O/P SHORT CCT SHUT-DOWN INPUT
: HIGH TEMPERATURE SHUT-DOWN INPUT
: LOW-BATTERY : BEEP START AT 11 V
:INVERTER SHUT DOWN AT 10.5 V
:10 SEC DELAY BEFORE CHARGING
: AUTOMATIC VOLTAGE REGULATOR [INPUT: 180 V – 240 V] [OUTPUT: 211 V – 232 V]
INVERTER MONITOR : 16*2 LCD DISPLAY
: LED INDICATORS
: ERROR LED
: BUZZER
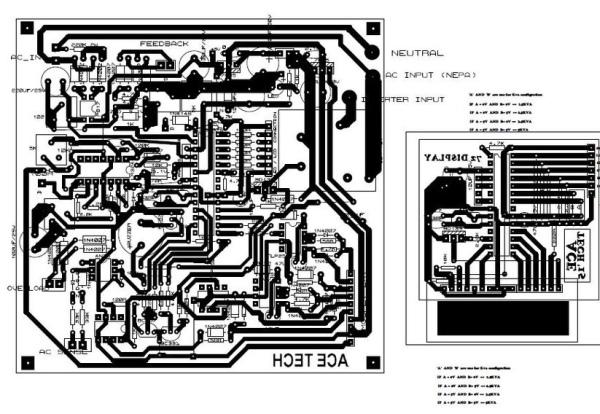
Step 1: Design and Transfer the Pcb Design
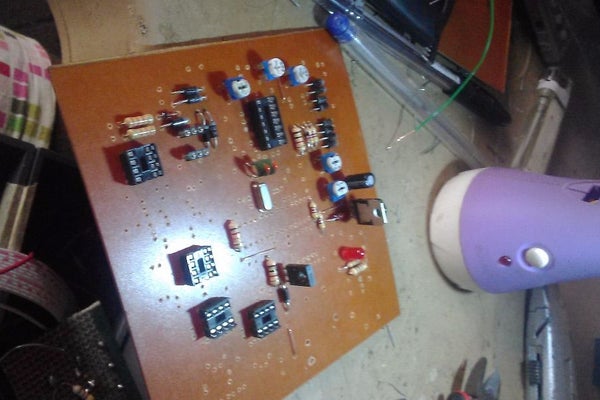
Step 2: Place and Solder Your Component
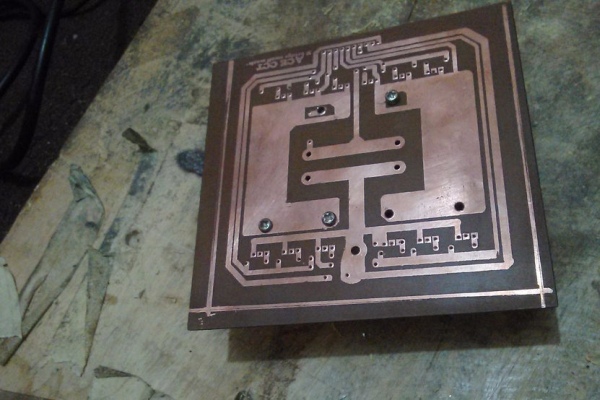
Step 3: Design Your H-bridge Board
Step 4: Testing With a 300w Transformer
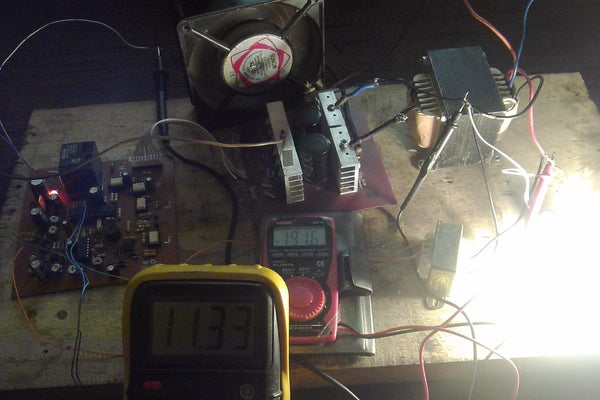
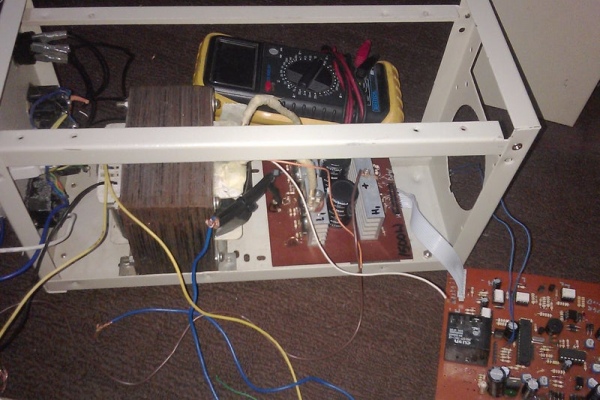
Step 5: Finishing
DOWNLOAD LINKS:TOP SIDE: http://www.4shared.com/office/6lJrLprOba/ALL2__1_.htmlCOPPER SIDE : http://www.4shared.com/office/7-TQyIhvba/ALL3.htmlLCD ONLY: http://www.4shared.com/office/GHEuw6Huce/LCD_ONLY_6_3.htmlVIDEO: https://www.youtube.com/watch?v=sCzSu1rOE-4If you have any question, feel free to comment on this post…. ace circuit OR call me on+2348134573457 , +2348123206299Reference documents:PIC16F876A datasheet: ww1.microchip.com/downloads/en/devicedoc/39582b.pdf
Source: PURE SINE WAVE INVERTER WITH LED AND LCD
- How do I choose the input voltage?
The choice of voltage ranging from 12v to 48v depends on the kva you are designing. - What MCU is featured in this schematic?
The featured M.C.U are the Microchip PIC16F72A OR PIC16F876A. - At what voltage does the inverter shut down?
The inverter shuts down at 10.5 V. - When does the beep start for low battery?
The beep starts at 11 V for low battery conditions. - What is the delay before charging begins?
There is a 10 SEC delay before charging. - Does the inverter include temperature protection?
Yes, it includes a high temperature shut-down input. - Can I use this design without an H-bridge board?
No, Step 3 specifically requires designing your H-bridge board. - What transformer size is recommended for testing?
You should test with a 300w transformer.
