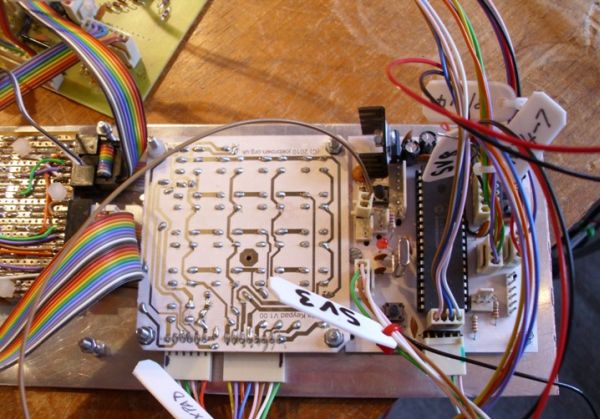
Every time I sit down to document one of my projects, I try to remember the occasions in the past when looking at the finished web page, I might say ‘Well, I won’t do that again!’, because despite how many drafts I’ve gone through, there is always some aspect of the presentation that fails to measure up to my expectations. Then there’s the question of boredom. I don’t want all my project pages to look exactly alike, just reasonably easy to look at and above all else accurate. Finally, there is the thorny issue of the media itself. Most will realise that these pages are formed using WordPress php code, with a few (very few!) additional pieces of my own php. Presentation using combinations of tables, pictures and lots of text hits size problems which I don’t understand, and moreover, I’m unwilling to spend hours, even days trying to fix, so that there is a finite limit to some post lengths. Rather than pushing the boundaries, and risk the non-presentation of a post, I intend keeping each article instalment reasonably small in future. This will also cut down the loading time from the http://joebrown.org.uk/wp root, which several users have noted has grown a little too long lately!
The article presented here documents an update of my MIDI Chord Button unit described originally on connectable.org.uk. That article used a 28 pin PIC and was written in PIC assembly language. The unit is still in use, and I decided to build a bigger, hopefully better unit, and write the code in ‘C’.
The unit supports a button matrix of (up to) 20 columns, by 8 rows. Each column is a particular musical key e.g. Ab, and each row a chord type, e.g. Maj7th. A momentary-action shift key provides for a further 8 chord types.
The basic mechanism for scanning the matrix is essentially the same as in the original article, and I don’t want to repeat work, simply for the sake of it. Those of you contemplating basing your own project on the following are urged to read the original article.
For the uninitiated, the 20 key columns are arranged in a virtual ‘circle of fifths’. Which means that if you learn a chord sequence, you can transpose up or down the keyboard and play the same sequence again in a different key. This is very similar to the stradella layout of some Italian chord button accordians, and makes a lot of sense, being relatively easy to play.
There is a table of the columns and keys in the original article, but I’ve provided a sample set of panels for the matrix, so make no excuses for showing the new layout here.
I’ve drawn the unshifted chords available on the LH side of the buttons and the shifted chords available on the RH side of the buttons, this has been repeated at each 4th multiple of the columns only, so as to reduce eye strain!
The small table below shows the layout in schematic form, with the base note value for each key/chord combination (given in hex). Note that the keys marked with the suffix ‘1′ represent an octave key – i.e. a musical key that is also further down the keyboard. Also note that I’ve followed the convention of the accordian and renamed the octave keys for Db as C#, Bb as A# etc. If you are confused, look at the base note values given, these will show the relationships.
Perhaps the best thing about a home-built instrument is that you can mash it up to do exactly what you want, and not what some manufacturer (or people like myself) think you want.
For more detail: MIDI Chord Button Keyboard Using PIC18f4620 part 1

