PIC Stroboscope
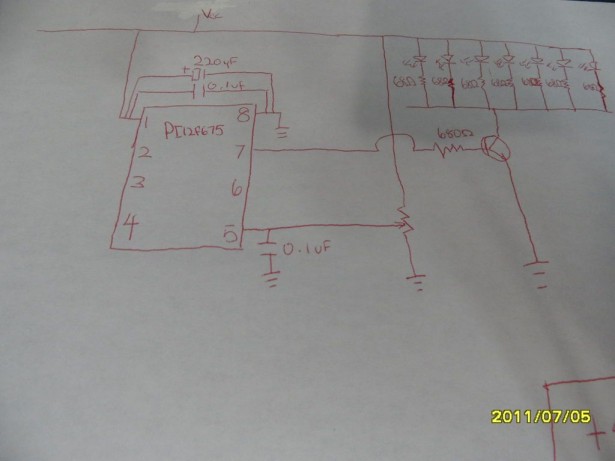
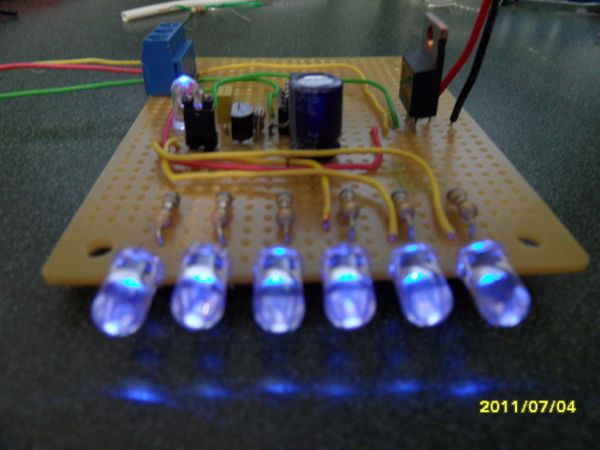
We are going to build this today. I am using the PIC12f675 from Microchip. THer is a video below to show the inner workings.
Step 1: Get the Parts
You will need:
Perf Board
6 volt battery pack (AA) (If you want, it can have a power switch and cover.)
7805 regulator (I use it in case I use a power supply.)
220uF capacitor
2 0.1 ceramic disc capacitors (it should say 104 on it.)
2n2222 NPN bi-polar junction transistor (use this transistor or a power transistor…I say this because 2n2222 can drive up to 1 amp but really, a transistor with 500mA will work.)

7 680ohm Resistors (I say seven because it has 1 “power led” See Notes at the bottom to hear why. This other LED also strobes like the others.)
potentiometer (I like 100K…gives me good range)
7 LEDs ( I prefer blue but any bright LED will work.)
PIC Programmer (I used the old fashioned QuickWriter.)
…and most importantly the PIC12f675 Microprocessor!
For more detail: PIC Stroboscope using PIC12F675 microcontroller

