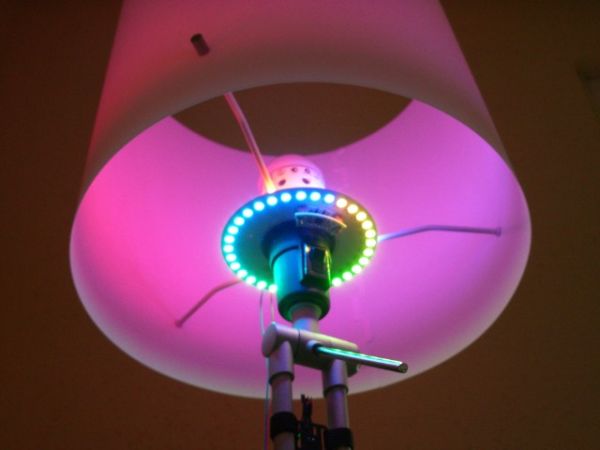
This upgrade is based on the loved-by-everybody WS2812B intelligent RGB LED and works just fine with Adafruit’s NeoPixel library.
The concept is – once again – rather simple. Whack a lot of WS2812B RGB LEDs onto a small board, add an ubiquitous ‘Arduino core’ and make sure everything fits nicely and works. Well, it worked.
This post gives a short overview of V0.27.a of this project. As this is NOT a step-by-step assembly manual, please read the whole post before you start soldering. There are some important additions at the end! For the very latest tips consult the master-branch of the code-repo!
Modes of operation:
* M-button: double-click –> change MODE anytime
Depending on the current mode, the M- and E-button have additional functionality. Every time a valid button event has been detected, the on-board LED flashes briefly.
* white modes: M/E press & hold: set global brightness for most effects
* uniform static colour: E press & hold: change colour
* uniform colour fader: E/M single click: change delay
* split colour: E/M press & hold: change colours
* rainbow modes: E/M single click: change delay
I added a couple of safety features to the design. There is room for poly-switch fuses and a big SK84 Schottky diode (DS1) for reverse polarity protection for the whole board. The fuses are still in the mail, so I replaced them with wire bridges. When I finally get them, I’ll do some testing with respect to voltage drop and make my decision if they will be used at all. The voltage drop across the Schottky diode is somewhere between 0.3V to 0.5V, but it turned out that is already too much and the brightness suffers considerably. One option would be to get an adjustable power supply and increase the voltage to slightly above 5V to compensate, but for now I chose to remove this diode.
For more detail: IKEA Samtid mood-light upgrade

