Summary of Building a PIC18F USB device
This article guides readers through creating a simple USB generic HID device using a PIC18F microcontroller. It covers breadboarding the hardware, writing the PIC18F firmware with MPLAB and Microchip C18 compiler, and developing Windows software in Visual C# 2010 Express. The device allows controlling an LED from a PC and reading a push-button state. Using the HID standard avoids the need for custom USB drivers or costly Microsoft certification, ensuring compatibility with both Windows and Linux. The project focuses on low-cost, straightforward construction ideal for beginners.
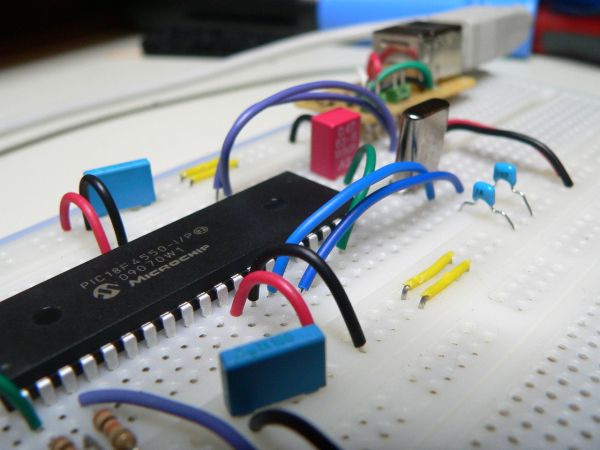
Parts used in the PIC18F USB HID Device Project:
- PIC18F4550 microcontroller (or PIC18F2550)
- LED
- Push-button switch
- Breadboard
- Connecting wires
- USB cable
- Power supply (for the breadboard)
Introduction
I get a number of emails every month asking about creating USB devices using the PIC18F microcontroller. After looking at projects such as my Atari Joystick USB Adaptor and C64 VICE Front-End there seems to be a demand for more information on how to ‘hack your own’.
In this article I will show how to breadboard a simple USB generic HID device, creating the PIC18F firmware and finally creating the Windows interface for the device which will allow you to control a LED from the PC and read the state of a push-button from the device. Since the advent of Windows 7 you need an expensive Microsoft validation certification to create custom USB drivers (without it most users cannot even install your software). Using the built in drivers for generic HID devices provides a simple method of creating Windows and Linux compatible devices and also makes the creation of both firmware and software far simpler. Since the HID standard does not require custom drivers you will not need to get a certificate for your driver, also both Windows and Linux have built-in libraries to help you communicate.
For this article we’re going to stick to a fairly basic USB device. The device will allow you to control a LED from Windows and also see the status of a push-switch on the device. Using this the basic principals of 2-way USB communication will be made clear allowing you to progress onto more complex projects.
To keep the cost and difficulty as low as possible I will concentrate on breadboard construction of the hardware using few components, the PIC18F firmware will be based on (the freely available) MPLAB and Microchip C18 compiler, the Windows software will be created using Microsoft Visual C# 2010 express (which is also free to download).
Although this article is based around the PIC18F4550 microcontroller you can easily substitute this for the smaller and cheaper PIC18F2550 which is code compatible with the larger 4550.
If you want to follow along with this article I suggest you scroll down to the bottom and download the accompanying software. Also make sure you have MPLAB, Microchip C18 for the PIC18F and Microsoft Visual Studio 2010 express installed.
For more detail: Building a PIC18F USB device