Hello, everyone !!! Today I’m going to show you how to make a thermometer with Arduino and LM35 termperature sensor, builded on a breadboard and conected together with jumpers (bunch of cables :D).
Step 1: Gathering The Parts
This is the list the parts needed to make the thermometer.
If you dont have a 10k pot you can use 50k like me !
- 1x Arduino UNO board
- 1x Breadboard
- 1x 16×2 LCD display
- 1x LM35 sensor
- 1x 10k potentiometer – for adjusting the brightness of the display (some display are sold with one pot)
- 19x Jumpers – to connect everything
Step 2: How To Make It
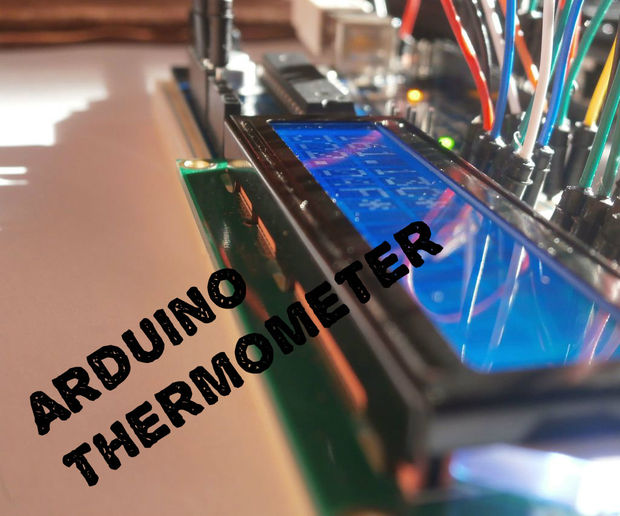
Follow the Fritzing schematic above and if everything is connected properly you will see numbers showing on the display.If you see squaers or there is nothing as shown as on the photos above, turn the potentiometer on left or right to adjust the brightness of the display, until you see the numbers.
For more detail: Arduino Thermometer With LM35