This project uses Myke’s 2-Wire LCD Interface from last week
and will help teach you “Graphics Animation” using LCD’s.
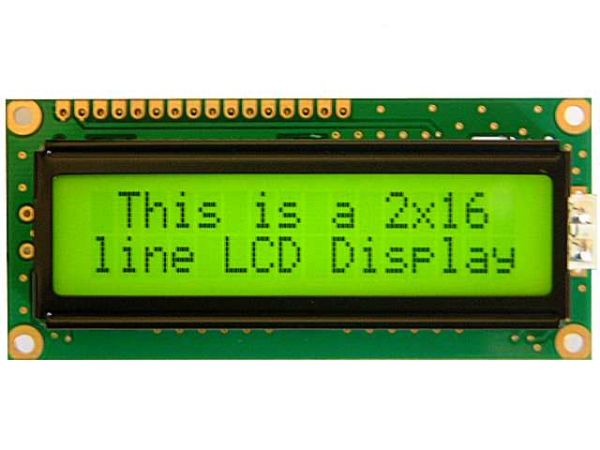
Last week, I showed how the PICMicro could be connected up to a Hitachi 44780 LCD using only two wires. This week, I wanted to use this circuit and show how simple graphic animation can be displayed on an alpha-numeric LCD display very easily. The technique used is “Character Rotation”, in which motion is simulated in a manner that is very similar to cartoon animation.
In cartoon animation, a series of pictures are photographed in which each one is slightly different from the previous one in the sequence. When these pictures are displayed rapidly enough (usually greater than 15 times per second), the human eye perceives that only one picture is displayed and the characters on the picture are actually moving. By photographing these pictures onto movie film and running them at more than 15 frames per second, the average human can be convinced that a road runner can dupe a coyote into running into his own leg hold trap and then over a cliff where a cannon ball will crush him into an accordion.
A similar process and result can be accomplished with a Hitachi 44780 based LCD Display. The basic 44780 has an approximate ASCII character set built in. When an ASCII character is sent to the display, it is converted into a seven high by five wide series of “pixels” (dots) which appear, to the user as a character.
I say that the character set “approximates” the ASCII character set because some characters (most notably the backward slash – “\”) are not present and the ASCII Control characters (everything less than 0x020) show up as characters and do not perform their assigned actions. Part of the area reserved by ASCII for Control Characters, from 0x000 to 0x007, can be used by an application to display custom (“user defined”) characters. These eight characters can be set up and used by an application very easily.
The user defined characters have their pixel patterns stored in a separate memory area within the Hitachi 44780 known as the “CGRAM”. This is an acronym for “Character Generator Random Access Memory”. Inside the 44780, character pixel patterns are generated from memories. For the most part (248 characters), this is a “ROM” (“Read Only Memory”) character generator which has been predefined and cannot be changed or defined by the user. The remaining eight characters have a “RAM” character generator which can be written to and when the representative character is to be displayed, the user defined pixel patterns is used instead of a predefined one.
This aspect of user or application pixel definition is why I usually refer to these eight characters as the “user defined characters”. If no pixel pattern is written to the 44780 and a character from 0x000 to 0x007 is displayed, then a random pixel pattern will be displayed.
If you power down the LCD display and display the character again, chances are the pixel pattern will be different. This is because the RAM does not power up to a set value and means that if you want to use the user defined characters, you have to make sure they are properly defined before they are displayed. Each byte within the CGRAM is used to display a line of pixels on the LCD display. The actual character definition is shown in the diagram below.
As can be seen in the diagram, the first line (or row) of pixels is at the character starting address in CGRAM with each line, going down, at an incrementing offset. When the 44780 was designed, the engineers took into account how people think and made it easy to figure out which bits are displayed for each row. Bit 0 of the row’s byte is on the right hand side of the eight by five character block; so to define a row, each pixel is represented as a bit in the byte and if the pixel is to be dark a “1” is placed in the byte that defines the row.
This is probably a bit hard to understand, to make it easier, I want to go through an example character that I created for the application that is presented later in this article.
To define a character, I usually take a piece of graph paper, outline an eight by five square box and draw the character inside it as I’ve shown in the diagram below:
For more detail: Using an LCD’s for Graphics Animation using PIC16C84
About The Author
Ibrar Ayyub
I am an experienced technical writer holding a Master's degree in computer science from BZU Multan, Pakistan University. With a background spanning various industries, particularly in home automation and engineering, I have honed my skills in crafting clear and concise content. Proficient in leveraging infographics and diagrams, I strive to simplify complex concepts for readers. My strength lies in thorough research and presenting information in a structured and logical format.
Follow Us:LinkedinTwitter