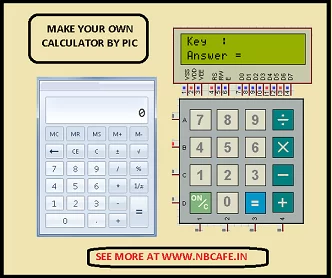
Summary of Project on making calculator using PIC16F877 and Mikcro C Pro
This article outlines a tutorial for building a calculator using the PIC16F877 microcontroller with MikroC Pro and Proteus 7 Professional. While referencing previous guides on keypad and LCD interfacing, the focus here is specifically on the embedded C programming logic required to construct the calculator's functionality using six specific variables for input handling and calculation operations.
Parts used in the Project on making calculator using PIC16F877 and Mikcro C Pro:
- PIC16F877 microcontroller
- 4 x 4 matrix keypad
- LCD display
- MikroC Pro for PIC compiler
- Proteus 7 Professional simulation software
Here I give you tutorial of Project on making calculator using PIC16F877 and Mikcro C Pro. After go through this project and learn the technique you can implement in your project. In my previous post I show you how to interface keypad 4 x 4 matrix’s If you not see that you should go through it at Keypad scanning and interfacing with PIC16f877 microcontroller
So in my previous posts I was told you about how to interface keypad and LCd. So in this project of Project on making calculator using PIC16F877 and Mikcro C Pro although we also use keypad and lcd, we skip these portion rather we discuss on the concept of making calculator. As like other project I also use 1 ) Proteus 7 Professional and 2) Mikcro C Pro for pic to make my project.
Embedded C programming: look I make this project with help of taking six variable those are kp, kp1, kp2, kp3, kp4,
sum.
Kp: I use it for taking first number for calculation
Kp1: I use it for taking second number for calculation.
Kp2: I use it to take function which you want performed function like +, -, *, /.
Kp3: I use it for taking answer key.
Kp4: I use it for taking input to on the calculator.
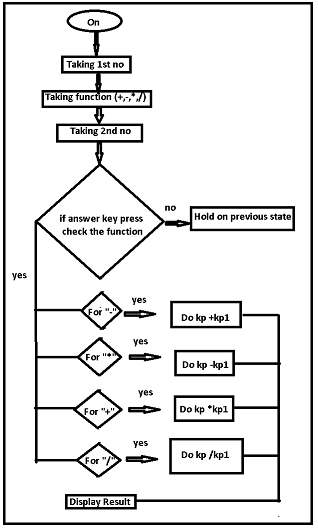
Sum : I use for it calculation purpose.
Now see the block diagram of my project Project on making calculator using PIC16F877 and Mikcro C Pro.
For more detail: Project on making calculator using PIC16F877 and Mikcro C Pro
- What software tools are used to make this project?
The project uses Proteus 7 Professional and MikroC Pro for PIC. - How many variables are used in the Embedded C programming?
Six variables are used: kp, kp1, kp2, kp3, kp4, and sum. - What is the purpose of the variable kp?
Kp is used for taking the first number for calculation. - Which variable takes the function like +, -, *, /?
Kp2 is used to take the function which you want performed. - Can I implement this technique in my own projects?
Yes, after going through this project you can implement the technique in your project. - Does this article cover how to interface the keypad?
No, the article skips the portion of interfacing the keypad and LCD to discuss the calculator concept instead.