Contents
hide
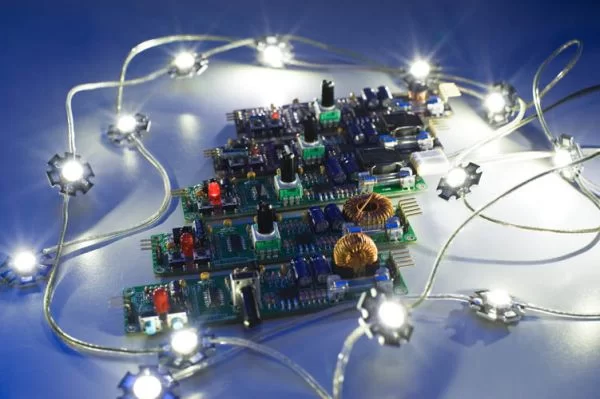
Here’s the updated firmware for my Universal High-Power LED Driver.
This version has on-board current set up function, so you can change the drive current without re-programming the PIC microcontroller.
You can either download the ZIP file containing the while project, or just the HEX file.
After upgrading your firmware, you can change the drive current of the LEDs connected to the driver by using the buttons on board.
Here are the steps:
- Connect the LEDs and power up the unit.
- Turn the dimmer knob all the way to the left/counter-clockwise. LEDs will be dim.
- Push both buttons and hold for a second, until the status LED starts blinking.
- The number of blinks shows the current level: 1=350mA, 2=700mA, 3=1,000mA, 4=1,400mA (apox.).
- Push right button to up the current, left button to lower the current. (You can move the dimmer knob to see how the LEDs light up during this process.)
- Push both buttons again for a second to get out of the config mode. Status LED will stop blinking.
- The setting is now stored in the non-volatile memory (EEPROM).
You can change the current setting as many times as you want
For more detail: Universal High-Power LED Driver – Firmware update using PIC16F1823


